Cost of New Door –
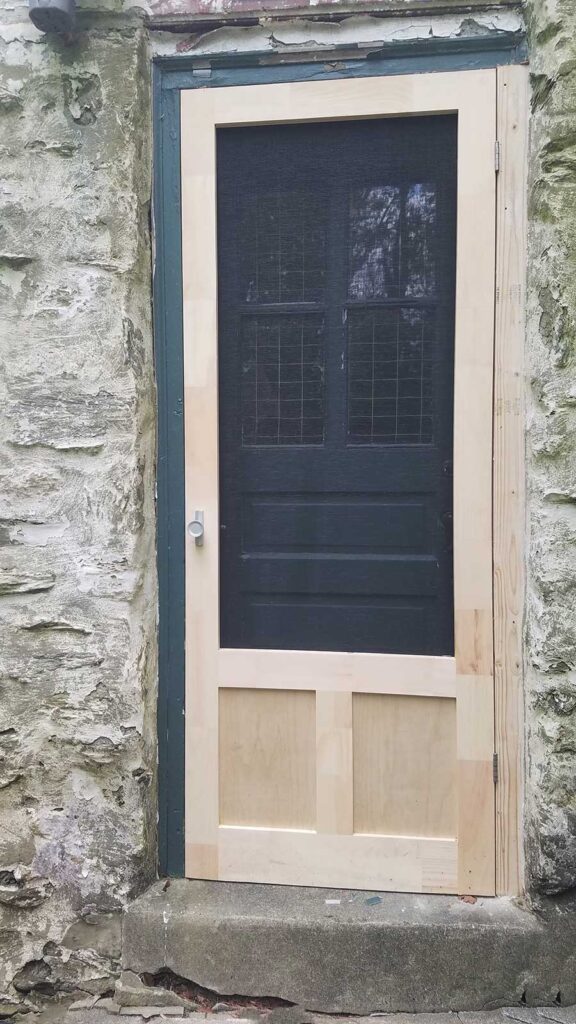
This was a front entry door repair in Drexel Hill. As you may know, front entry doors are expensive. Additionally, the top half of the door was was crafted with ornate frosted glass, making it even more expensive. You could spend a couple thousand dollars on a similar new front door.
Extent of Damage
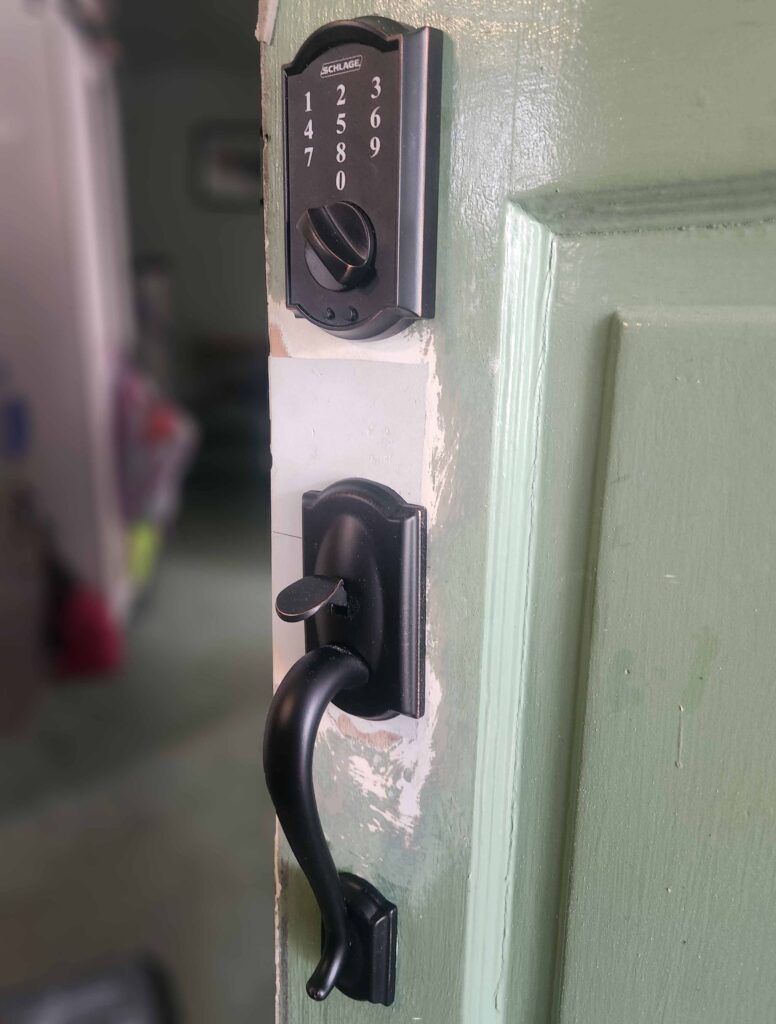
Now Ed wanted to put a new door handle on it, but the wood surrounding the existing handle had deteriorated so that the mechanism was falling out.
It had one of those rectangular lock mechanism inserts, that you still see in older homes on interior doors. On interior doors it’s time to replace your interior doors because they only cost a couple hundred dollars apiece.
Cost of Repair
Ed either had to replace or repair the door. And if he could get it repaired he would stand to save a bundle of money. So, he had a few people look at it and I, it would seem, was the only one brave enough to take up the challenge with a price of $300.
I carefully cut out a rectangular section of the old door that encased the lock mechanism. Then, fashioned a block of wood to use as an insert to replace it. Because the door was 1 3/8 inches thick I glued together 3 pieces of plywood. Plywood being more dimensionally stable than organic wood.
No Room for Error
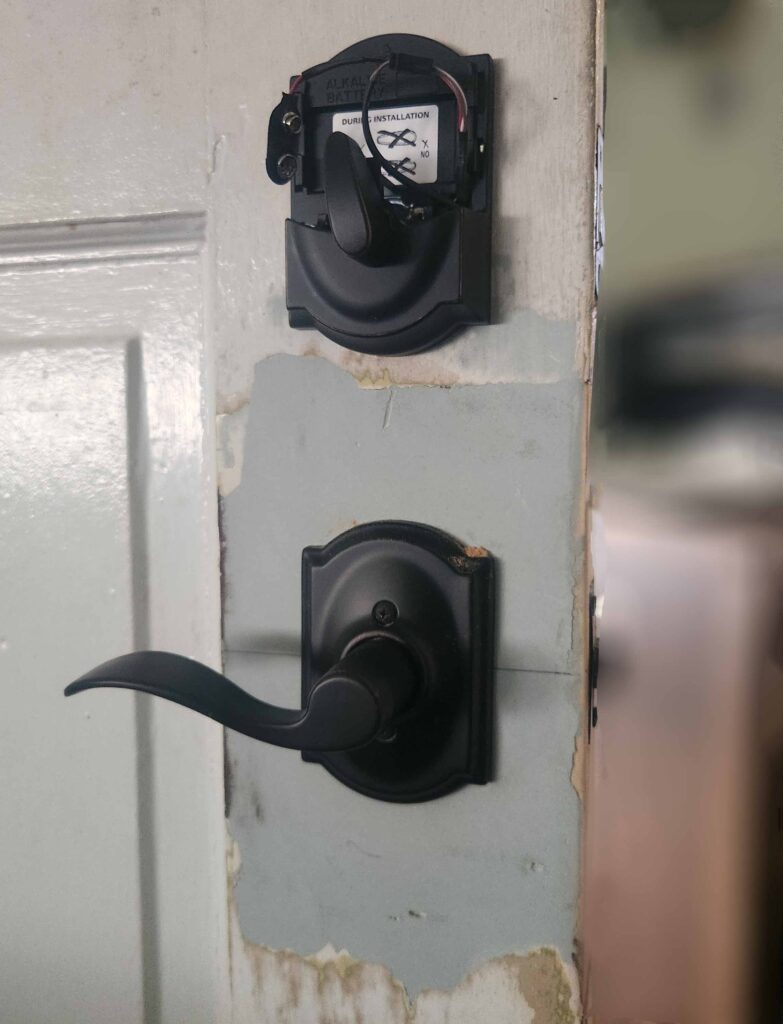
I made the insert a snug fit so it wouldn’t work loose over time. The plan was to make the insert not quite as thick as the door so it could be topped with Bondo, a durable 2-part putty. That would be the only way it would look like new after painting, and wouldn’t one day crack around the insert.
Not only did I glue the insert in but I also used screws all around it’s perimeter to make a long lasting front entry door repair. I topped it with Bondo and drilled out the hole for and installed the new lock. After it’s painted it should be good as new.
Please see my carpentry page or handyman page for repairs.